How to standardize your booth sizes with one click
Making all your plotted booths the same size by pixel.
RegisterONE allows you to create your booth map yourself without any special software. When you do this, you upload a venue map, then start adding areas where you booths are. These can then be selected by your exhibitors/vendors on the application form.
One issue to make your map look the best is to make all your similar booth sizes LOOK the same on the map. This is more time consuming because each block can be sized individually.
TIP: One shortcut to making a bunch of blocks the same (ex. 10×10) is to make one block, then using ctrl-c to make as many copies as you need! Then you just move the copies around to where you need them.
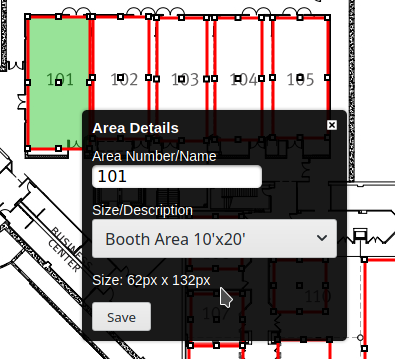
Once you’re finished creating your blocks, you can move them around and booth numbers and booth sizes. Each booth size has an associated cost that you set on another screen. When you double-click on a block, you can also see the Size of the block in pixels. If you want to make ALL of the blocks with the same booth type the exact same size in pixels, make note of the Size (ie. 62px x 132px).
Setting your Booth Sizes and plot sizes for each type
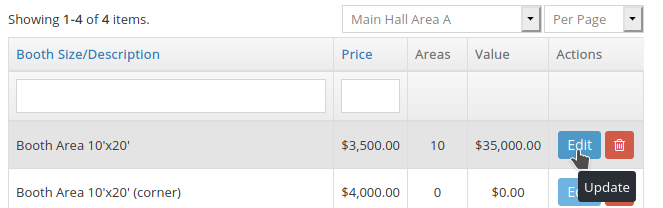
AFTER you plot and assign all your booth sizes on your map, go can back to Map Templates > Booth Sizes > Edit to tweak the booth sizes.
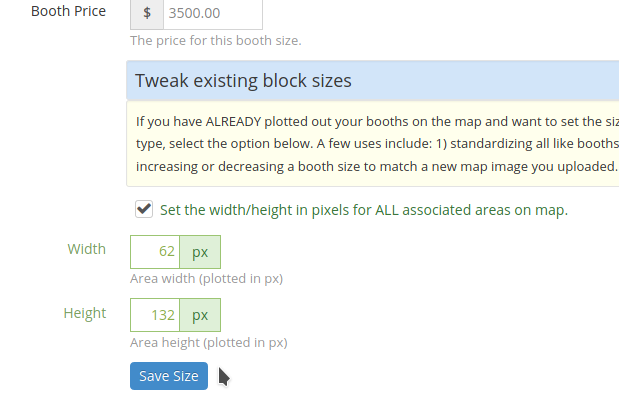
If you want to standardize all the booths assigned this type to be the same uniform dimensions, check the option box and set the pixels for Width and Height. This is taken from the booth detail in the first image.
Once you save this and go back to the map, you will see that all blocks are now changed to the same size. This makes your booth map more uniform and consistent.
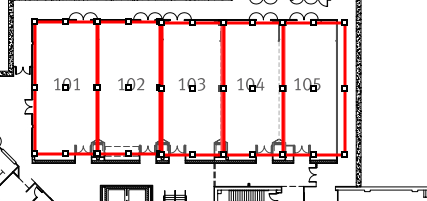
You can see that the 10×20 booths are now exactly the same size on the map. You can now shift them around with your arrow keys as you wish to put the finishing touches on your booth selector.
Tweaking booth sizes after uploading a new map image – HUGE time saver
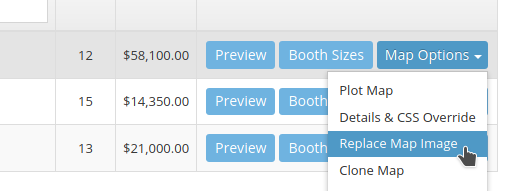
If you change the size of your map image, your booth blocks may need to be resized to fit properly on the new image. If you uploaded a larger image (2000px wide is recommended), then your current blocks would be too small and would need to be enlarged. Use this technique to change your booth blocks without having to change each one by hand!
Leave a Reply
You must be logged in to post a comment.