How to setup scanner app for expo ticketing and conference check-in
How to setup scanner app for expo ticketing and conference check-in
RegisterONE has it’s own scan app that can be used on any mobile device using Android or iOS. This app allows you to scan e-tickets, receipts and badges to verify purchases, general admission and anything else you wish to verify. Everything that an attendee purchases is connected with a single barcode, so it’s easy for attendees to use.
Download and install the mobile app from Google Play
Download for Android (Play Store) or Search: “registerone expo” on Google Play.
Authorize the app to be used for your event
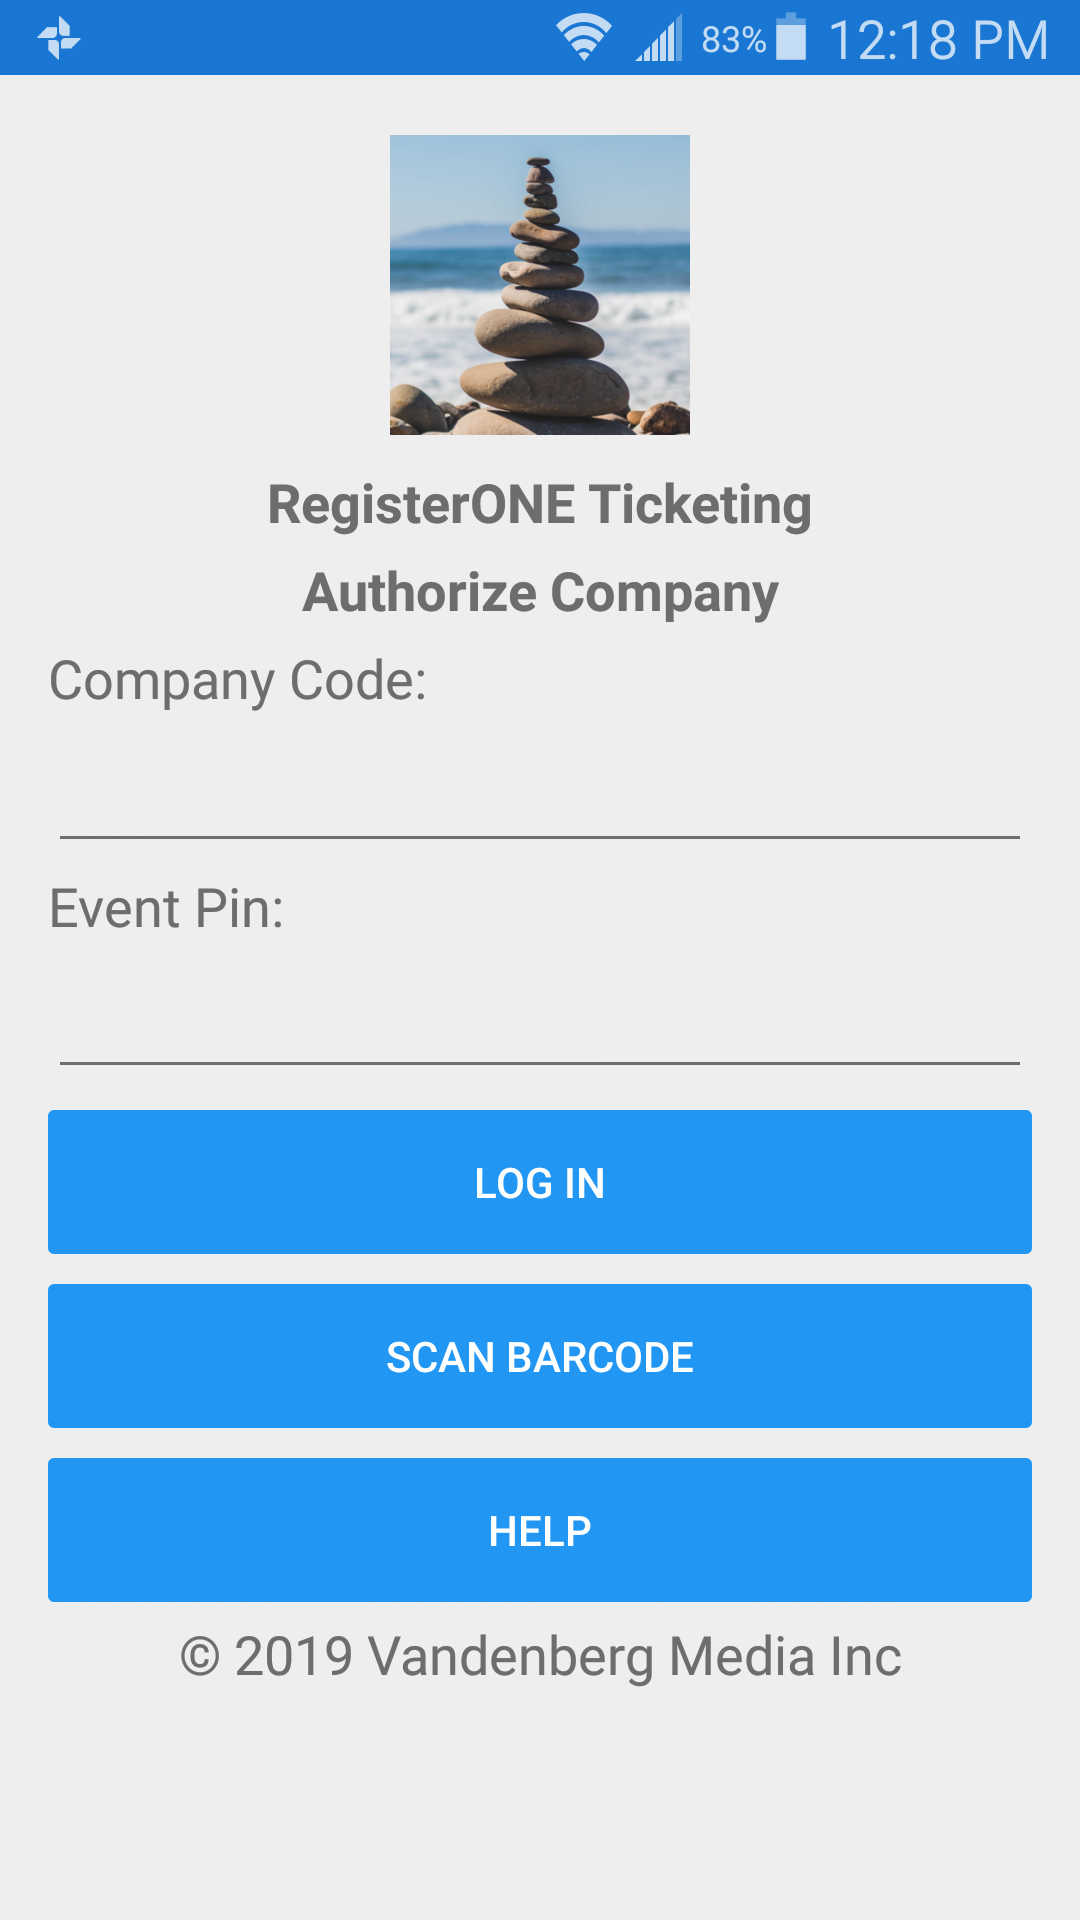
When you launch the app, you will need to login to the app with your company/event Auth-Key. This is a unique key that is generated for EACH event.
To generate your Auth-Key, go to Events > Settings > Scan Authorize Key.
Click Generate Scan Auth Key to create your login key to be scanned for login.

The Generate Auth-Key screen has a walk-through on most of the app screens, so take a look this for more details as well.
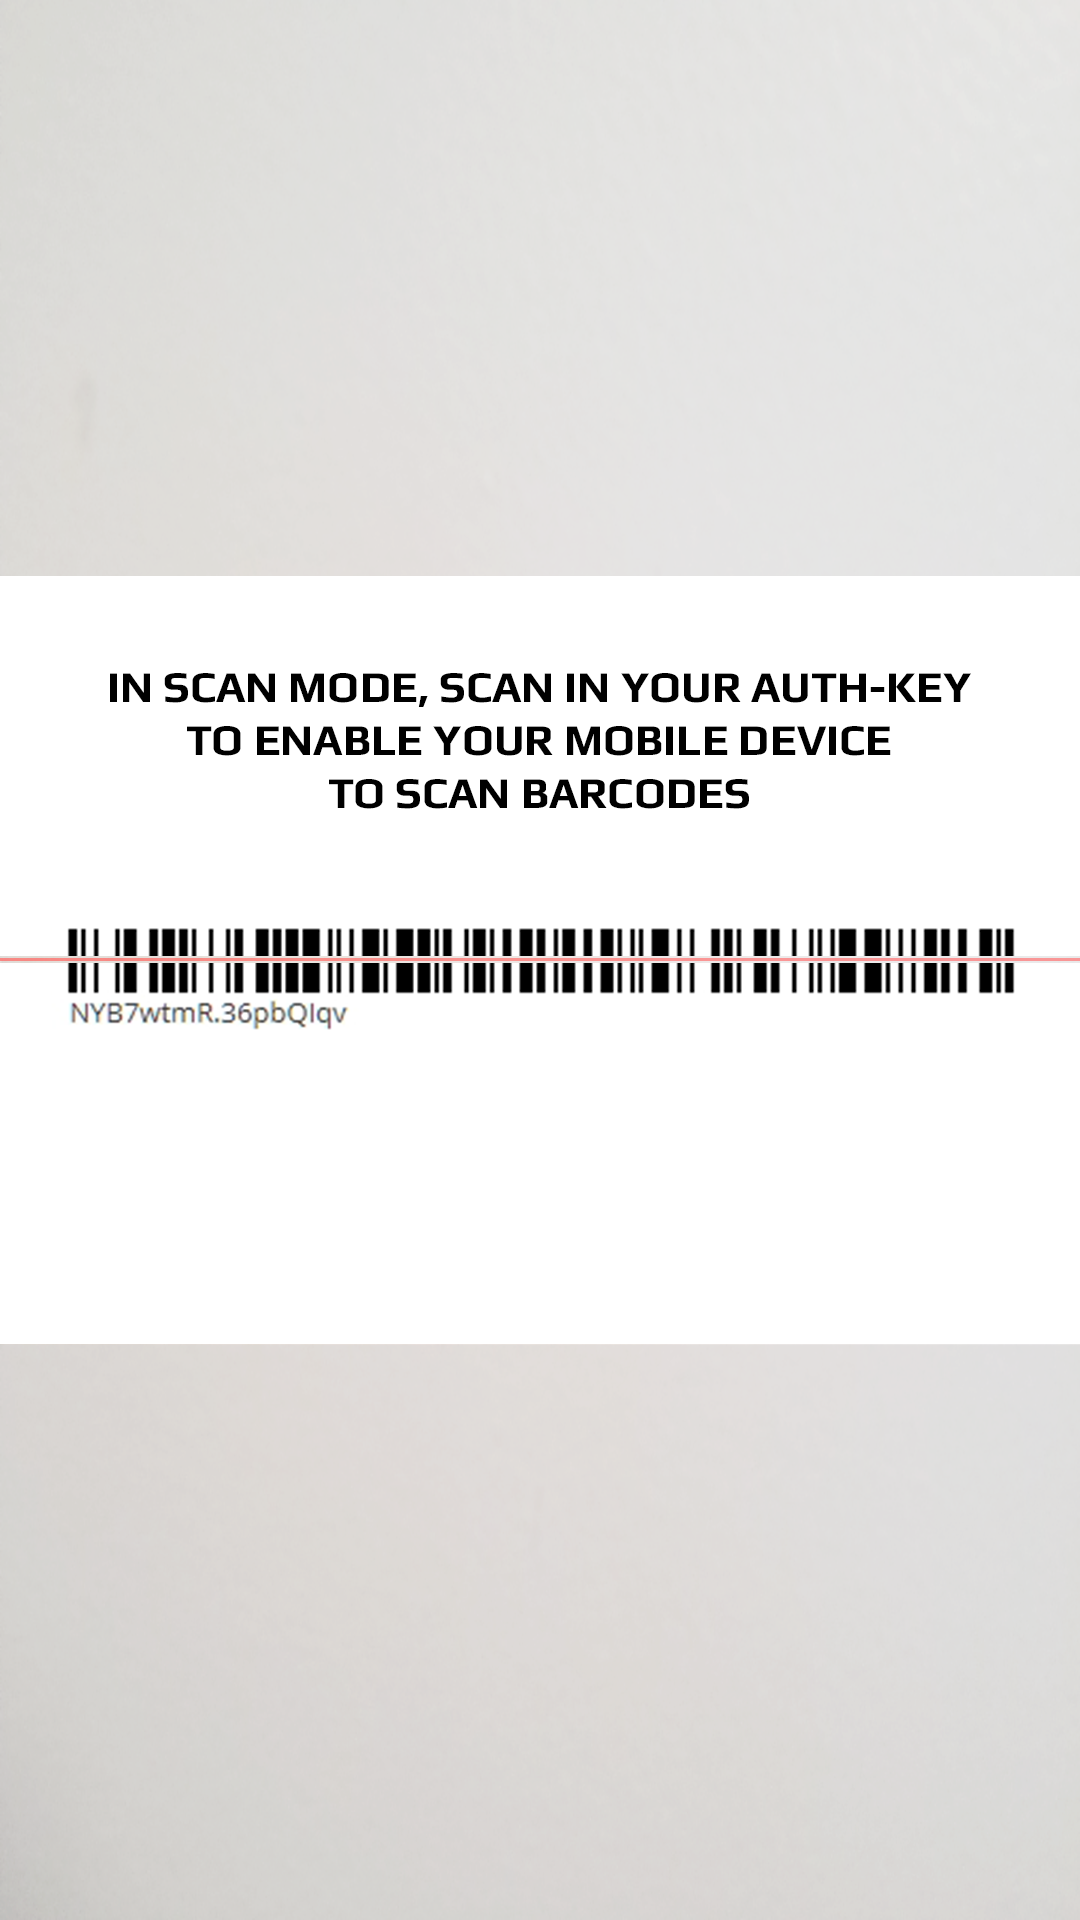
Login to the Scan App by scanning your Auth-Key
To login, simple click the Scan Barcode button to launch the scanner and line up the barcode in the screen. You can also key-in the auth codes manually if you need to, but it’s much faster to use the barcode.
Setup and manage scan agents according to your needs.
How many people are going to be scanning tickets at the admissions desk? Once you know approx. how many you’ll need, you should setup “scan agents” for each person who is going to be using the Scan App on their phones or tablets. You can add scan agents from the R1 interface or from within the app.
To add scan agents from R1, go to the Scan Log screen and click the Manage Scan Agents button. It’s a good idea to pre-add scan agents for your various scan stations before the event so it’s faster to setup the scan station. After they are added, you can select them from the Scan App as the user of the particular scan device.
Scans will be tracked and listed from within R1 by scan agent and makes it easy to see the last person or barcode scanned.
Select amenity items to be tracked by the scan app.
When you setup your forms, you add Amenities to be purchased. An example may be a series of conferences, expo admission, speaker engagements, VIP access, etc. When you select the amenities to offer on your forms, you can also set them up to be on the scan-list so they are trackable for admissions purposes.
From the Forms > Amenities screen, check the Enable Scan Tracking option. Once this is enabled, you will see this item in the Scan App Amenities screen to be tracked.

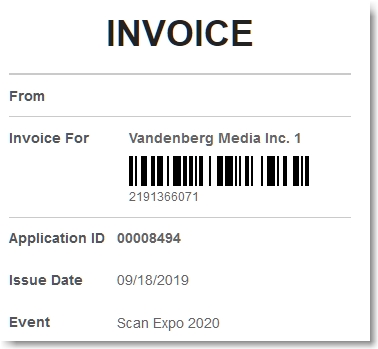
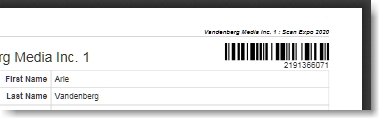
Applicant barcodes and where to find them
Barcodes are located on the Application Cart, the Invoice and on the Application Detail screen and downloadable PDF page. You may advise the client to print out a copy or bookmark the page on their phone so they can pull it up for check-in purposes.
Using the Scan Log screen to view most recent check-ins
When your staff is in the process of checking people in, you can monitor what each scan agent is scanning from the R1 interface. The Scan Log makes it easy to see the last person scanned, or view scans for a particular Amenity Type or specific Amenity.

This screen provides any easy way to pull up the Badge PDF for printing. Just filter by Scan Agent and sort by Scan Date/Time to pull up the last scanned client.
How to Setup exhibitor/attendee badging
If you’re using attendee badging, you will need to design badges for each attendee and exhibitor type. To do this, just go to Events > Settings > Badge Designer
The badge designer offers a very robust design interface. When you first create a badge, a sample is created for you that includes the basics and the barcode merge-value (ie. “{{barcode}}”). You can modify it however you want to so it works with your event. You can upload images and insert merge-variables to personalize the badge.
If you want to personalize with profile variables, double-click inside a text-block to pull up the selector.
Leave a Reply
You must be logged in to post a comment.